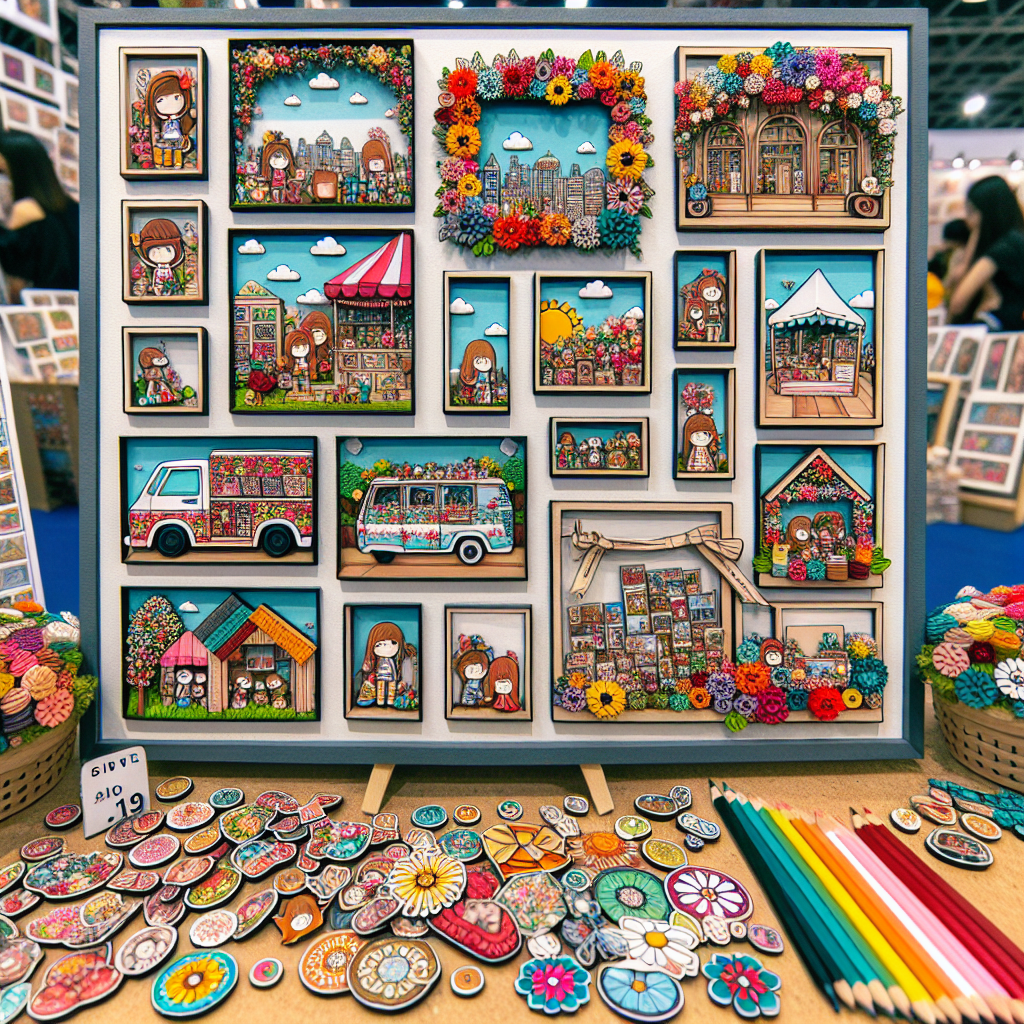
In this tutorial by Betty’s Custom Designs, you’ll learn how to craft pencil and notebook sets using items from Dollar Tree. Betty Renfroe, the creative mind behind Betty’s Custom Designs, demonstrates how to separate and cut legal pads from Dollar Tree into individual notepads. She also shares her tips for decorating the notepads with scrapbook paper and cardstock. The video highlights other YouTube channels that offer similar crafting ideas, making it a great resource for anyone interested in getting creative on a budget. Whether you’re a seasoned crafter or just starting out, Betty’s Custom Designs Tutorial is sure to inspire your next crafting project.
In Betty’s Craft With Me video, she walks you through the process of creating adorable pencil packs using Dollar Tree legal pads. She explains how to separate the legal pads and provides measurements for cutting paper and cardstock to decorate the notepads. Betty shares her favorite channels for crafting inspiration and discusses the potential profitability of this craft. For anyone looking for easy and affordable craft fair ideas, her tutorial is a must-watch. So grab your crafting supplies and get ready to create personalized pencil and notebook sets with Betty’s Custom Designs.
Separating and Cutting Legal Pads: Betty’s Custom Designs Tutorial
Crafting can be a fun and fulfilling hobby, especially when you can create personalized and unique items. In this tutorial, we will be exploring how to separate and cut legal pads to create custom notepads, as demonstrated by Betty Renfroe from Betty’s Custom Designs. Betty is known for her creative and affordable crafting ideas, using items from Dollar Tree.
Before we dive into the step-by-step process, let’s take a moment to learn more about Betty and her custom designs. Betty Renfroe is a passionate crafter and the creative mind behind Betty’s Custom Designs. Based in Tallahassee, Florida, Betty has gained a following for her innovative and budget-friendly crafting projects. She finds inspiration in using affordable materials, such as those found at Dollar Tree, to create beautiful and functional items.
Betty’s Custom Designs often incorporates collaboration with other YouTube channels, such as Clint & ‘Chelle, The Ramblin’ Crafter, and Scrapbooking With ME Crafts. By collaborating with these channels, Betty is able to gather more crafting ideas and share her own creations with a larger audience.
Now that we have an understanding of Betty’s background and the content of her video, let’s take a look at the materials you will need to follow along with this tutorial. Don’t worry, these materials are easily accessible and won’t break the bank.
To complete this tutorial, you will need the following materials:
- Legal pads from Dollar Tree
- Scrapbook paper
- Cardstock
- Cutting tools (e.g., paper trimmer, craft knife)
- Glue
- Pencils
- Erasers
- Twine or ribbon
- Scissors
- Ruler or measuring tape
With these materials ready, let’s begin the step-by-step process of creating custom notepads!
Step 1: Separating the Legal Pads
The first step in this tutorial is to separate the legal pads. Legal pads are typically sold in packs and are held together by adhesive or glue. Separating them will allow us to work with individual sheets. Although Betty mentions that there may be easier ways to do this, she shares her own method in the video.
To separate the legal pads, you can follow these techniques:
- Gently bend the legal pad at the glue line to loosen the adhesive.
- Carefully peel off the top sheet from the pad.
- Continue to separate the sheets one by one until all the pages are loose.
It’s important to handle the legal pads with care to avoid damaging the sheets. Betty emphasizes that this step is relatively easy and should not take much time to complete.
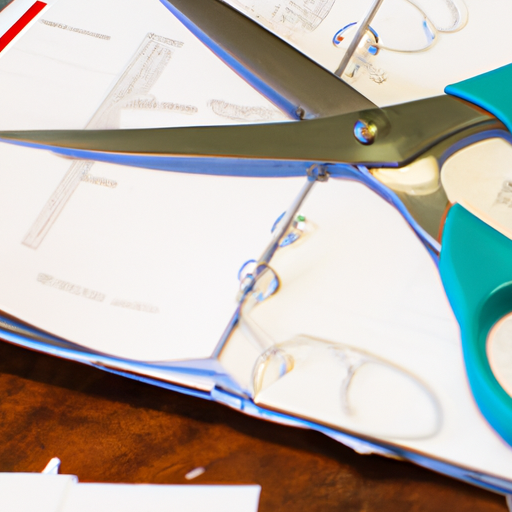
Step 2: Measuring and Cutting Scrapbook Paper
Now that we have our separated legal pad sheets, it’s time to add some decorative elements to our notepads. In this step, we will measure and cut scrapbook paper that will serve as the cover of our notepads.
Here’s how you can measure and cut the scrapbook paper:
- Measure the width and height of your legal pad sheets using a ruler or measuring tape.
- Recommended measurements for the scrapbook paper cover are slightly larger than the legal pad sheets to create a border.
- Cut the scrapbook paper according to the measurements, ensuring that the edges are straight.
Betty suggests using a paper trimmer and a metal ruler to achieve accurate and clean cuts. However, if these tools are not available to you, scissors can be used as an alternative.
Step 3: Cutting Cardstock for the Covers
In this step, we will be cutting cardstock to create sturdy covers for our notepads. Cardstock covers will give the notepads durability and a more professional look. Betty explains the purpose of using cardstock covers and provides measurements for cutting them.
To cut the cardstock covers, follow these steps:
- Measure the width and height of your legal pad sheets using a ruler or measuring tape.
- Recommended measurements for the cardstock covers are slightly larger than the legal pad sheets.
- Cut the cardstock according to the measurements, ensuring that the edges are straight.
To achieve accurate cuts, Betty recommends using a paper trimmer and a metal ruler. These tools will provide clean lines and make the cutting process easier. It’s important to pay attention to accuracy in this step to ensure that the cardstock covers fit perfectly with the legal pad sheets.
Step 4: Scoring the Paper for Folding
In this step, we will be scoring the paper to create folds for our notepads. Scoring the paper allows for clean and precise folding, giving the notepads a polished finish. Betty explains the process of scoring and offers tips for achieving the best results.
Scoring paper for folding can be done using various tools and techniques. Betty suggests using a scoring tool that creates a small groove or indentation along the paper. This indentation helps guide the folding process and ensures crisp folds.
To score the paper for folding, follow these steps:
- Place the paper on a scoring board or surface.
- Align the scoring tool with a ruler or straight edge where the fold should be.
- Apply firm, even pressure along the ruler as you run the scoring tool down the paper.
- Repeat the scoring process for all the necessary folds.
Proper scoring is essential for creating clean and professional-looking folds. Taking your time and applying consistent pressure will result in better folding and overall appearance of the notepads.
Step 5: Rounding the Corners
In this step, we will add a decorative touch to our notepads by rounding the corners of the paper. Rounding the corners is a simple technique that can enhance the overall aesthetic and make the notepads look more appealing.
There are various methods for rounding corners, and Betty suggests using a corner punch or a chomper tool. These tools can easily create rounded corners without the need for complicated techniques. Simply align the tool with the desired corner and press down firmly to create a rounded shape.
Rounding the corners is optional, but it adds a nice finishing touch to the notepads. It’s a small detail that can make a big difference in the overall appearance of the final product.
Step 6: Assembling the Notepads
Now that we have prepared all the components, it’s time to assemble the notepads. Betty walks us through the process of gluing the paper together and creating the final product.
To assemble the notepads, follow these steps:
- Apply glue to the back of the cardstock cover.
- Align the legal pad sheets on top of the cardstock cover, ensuring they are centered and straight.
- Press down firmly to secure the legal pad sheets to the cover.
- Repeat the gluing process for each notepad.
Betty suggests using a strong adhesive glue to ensure that the notepads hold together well. It’s important to apply the glue evenly and press down firmly to create a strong bond between the components. Taking the time to align the legal pad sheets and cardstock covers accurately will result in professional-looking notepads.
Step 7: Adding Pencils
To make our notepads functional and complete, we can include pencils as part of the set. Adding pencils adds a practical and decorative element to the notepads, making them ready for use. Betty shares how she adds pencils to her custom notepads.
When choosing pencils, Betty suggests using standard-sized pencils that fit well with the notepads. It’s important to consider the length and thickness of the pencils to ensure they fit comfortably in the notepads.
To add pencils to the notepads, follow these steps:
- Attach a pencil to the spine of the notepad using a small piece of twine or ribbon.
- Tie the twine or ribbon securely to hold the pencil in place.
- Trim any excess twine or ribbon for a neat appearance.
This step is optional, but adding pencils makes the notepads more functional and visually appealing. It’s a great way to customize the notepads and make them stand out.
Step 8: Additional Decorative Steps
If you’re looking to take your custom notepads to the next level, Betty suggests adding extra decorative elements. These additional steps can enhance the overall look of the notepads and make them more unique.
Some additional decorative steps you can consider are:
- Adding erasers: Attach small erasers to the tops of the pencils, creating a matching set.
- Wrapping the finished product with twine or ribbon: This adds a final touch and gives the notepads a more finished look.
These additional steps allow you to get creative and personalize the notepads even further. You can experiment with different colors, patterns, and materials to create a desired effect.
Step 9: Pricing and Potential Profit
Once you have completed the crafting process, you may want to consider pricing your custom notepads. Betty briefly touches upon the affordability and potential profit of this craft. By using affordable materials such as legal pads from Dollar Tree, scrapbook paper, and cardstock, you can create high-quality notepads at a low cost.
When pricing your notepads for sale or fairs, Betty suggests considering the cost of materials, labor, and desired profit margin. Researching prices of similar handmade notepads in your area can also help determine a competitive price point.
By creating custom notepads, you have the potential to turn your hobby into a small business venture. Betty’s Custom Designs exemplifies the possibility of making profits from crafting, and it’s entirely up to you how far you want to take it.
Conclusion
In conclusion, Betty’s Custom Designs tutorial provides a comprehensive guide on how to separate and cut legal pads to create custom notepads. Betty’s expertise, simple techniques, and use of affordable materials make this tutorial accessible to crafters of all levels.
Throughout the tutorial, Betty emphasizes the importance of accuracy, taking your time, and paying attention to detail. By following the step-by-step instructions and adding your own creative touches, you can create personalized notepads that are functional and visually appealing.
Betty’s Custom Designs is a prime example of how crafting can be a fulfilling hobby and potentially a source of income. By utilizing readily available materials and collaborating with other crafters, Betty has created a platform that inspires and encourages others to explore their creativity.
So gather your materials, follow the tutorial, and start crafting your own custom notepads. Discover the joy of creating unique and personalized items, and let the creativity flow!